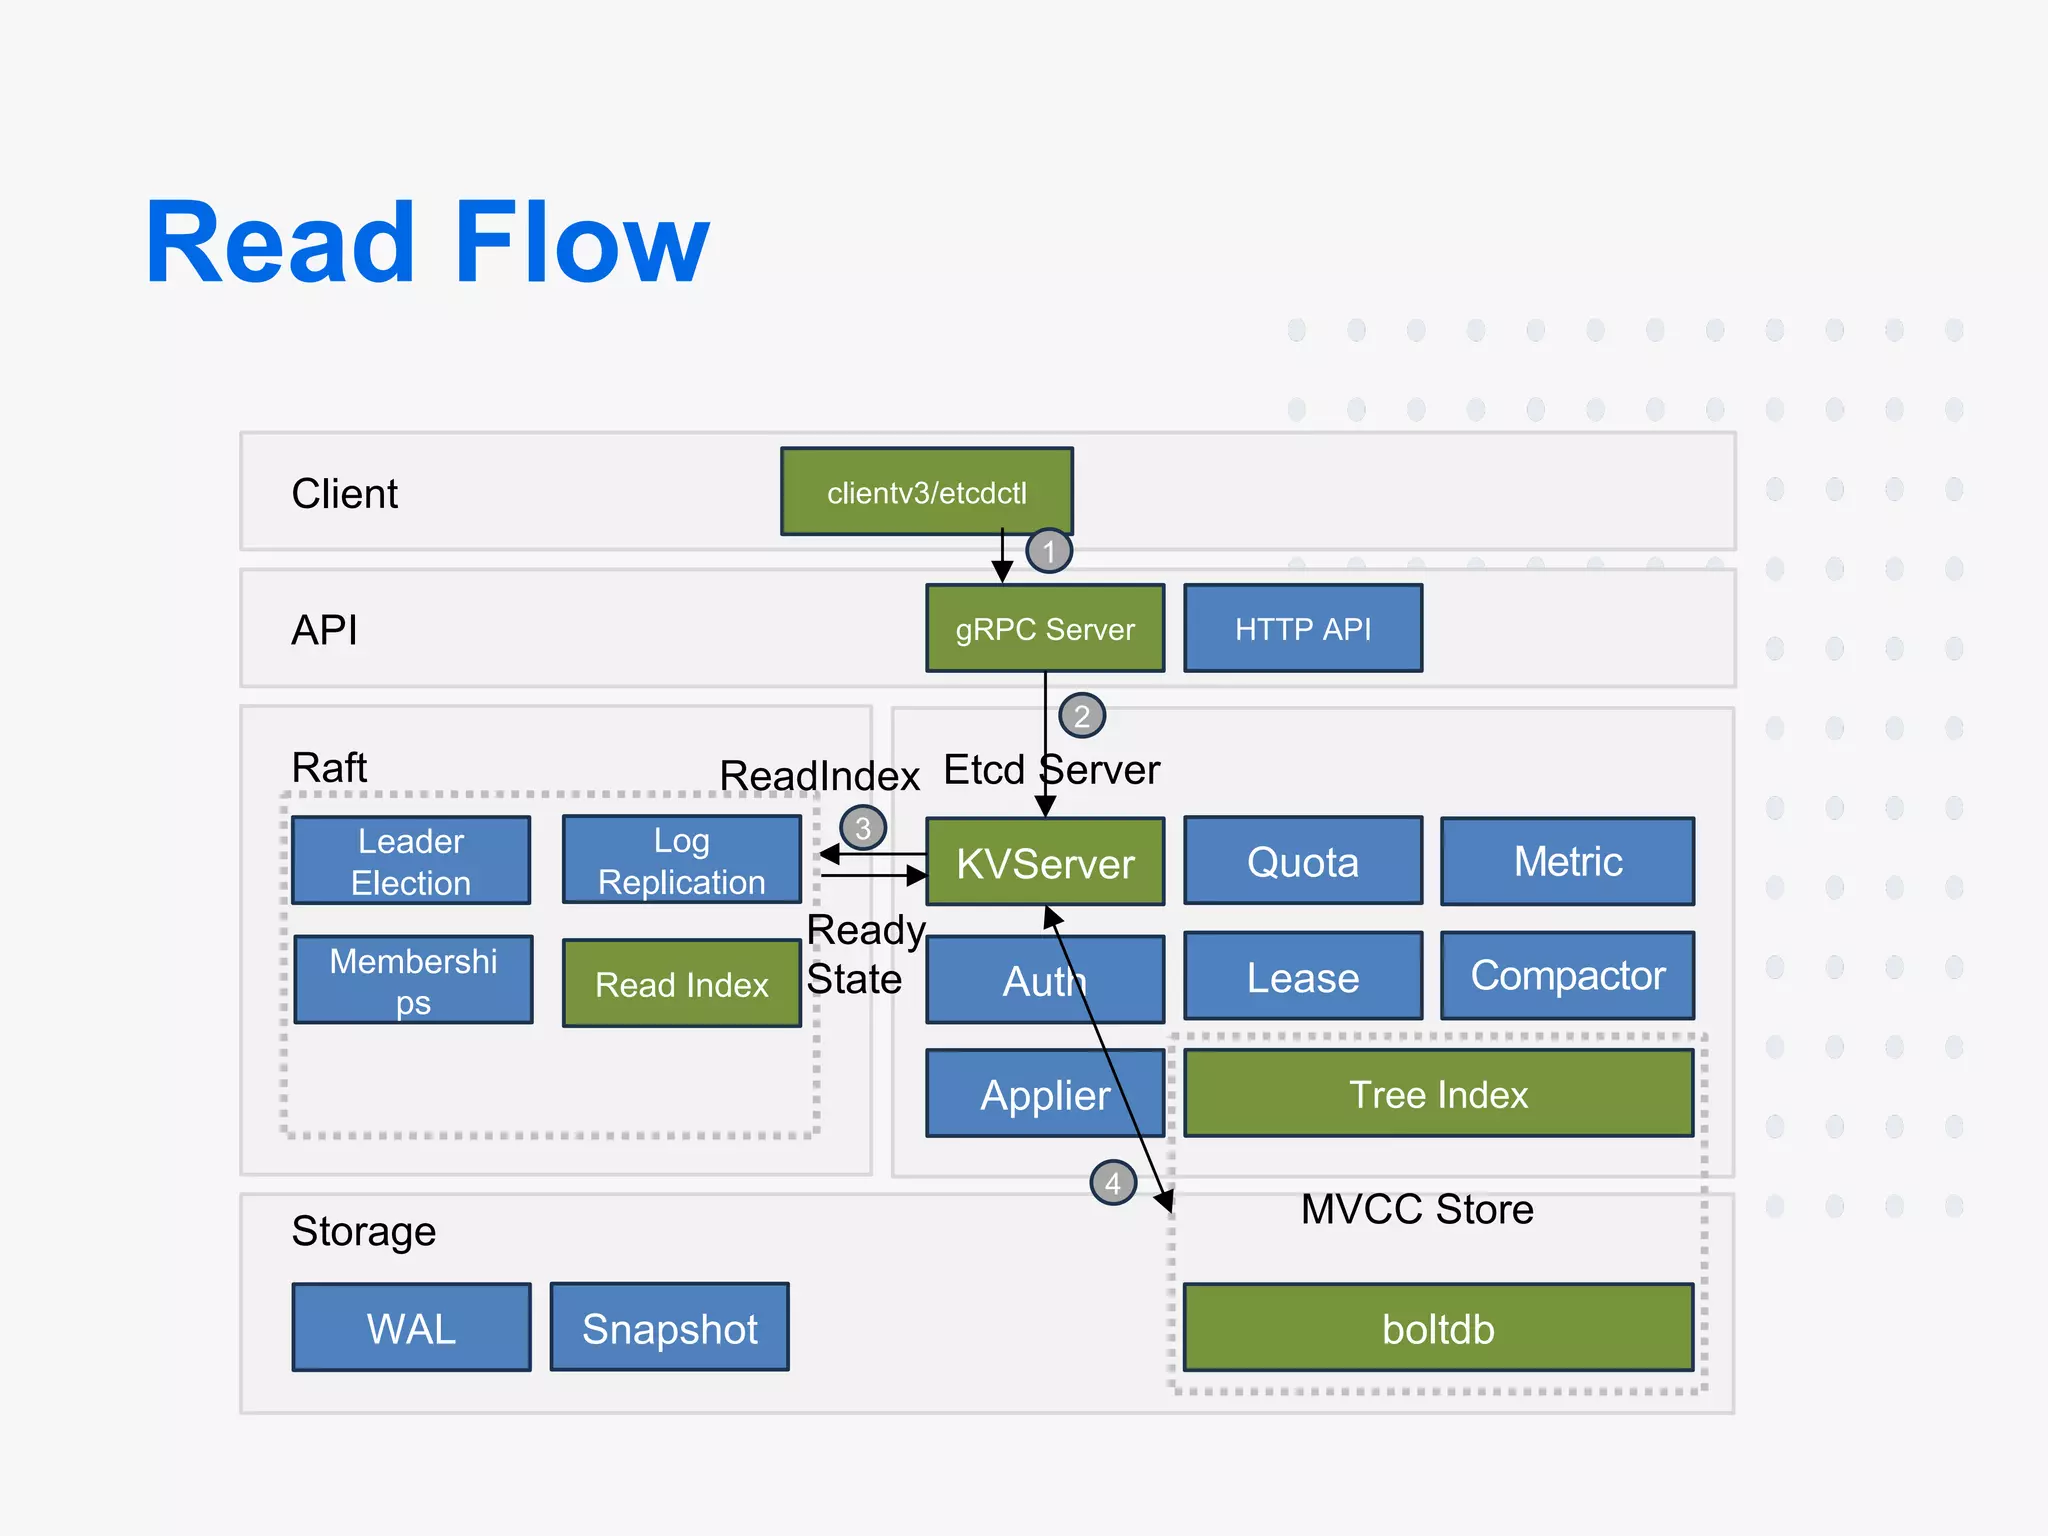
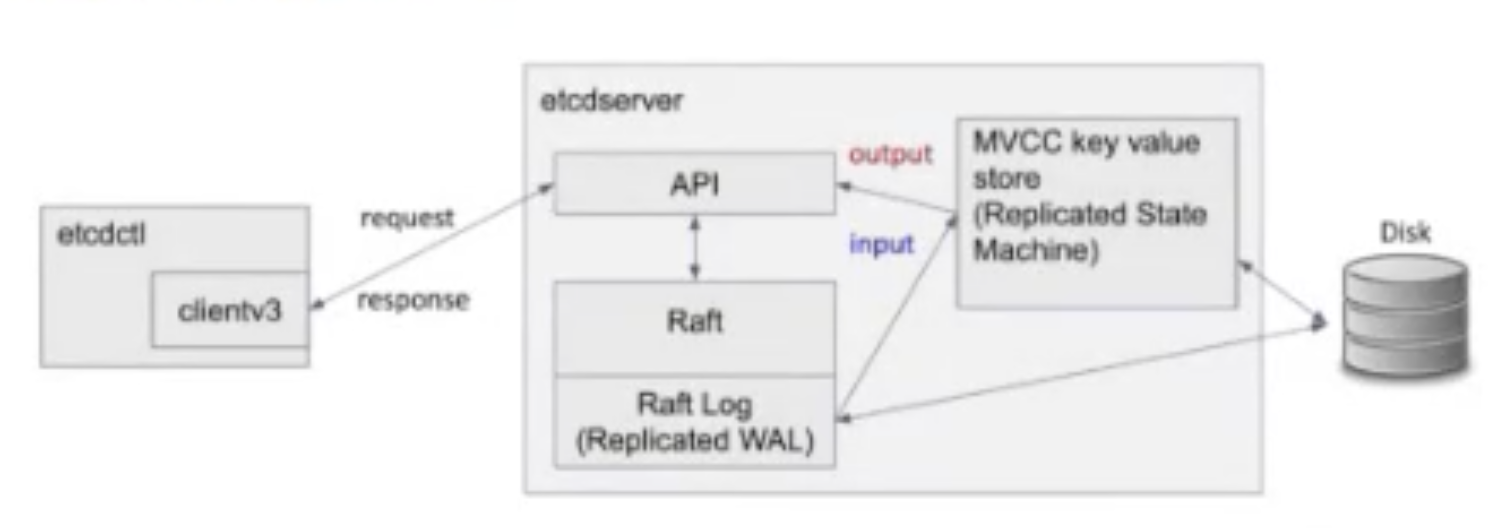
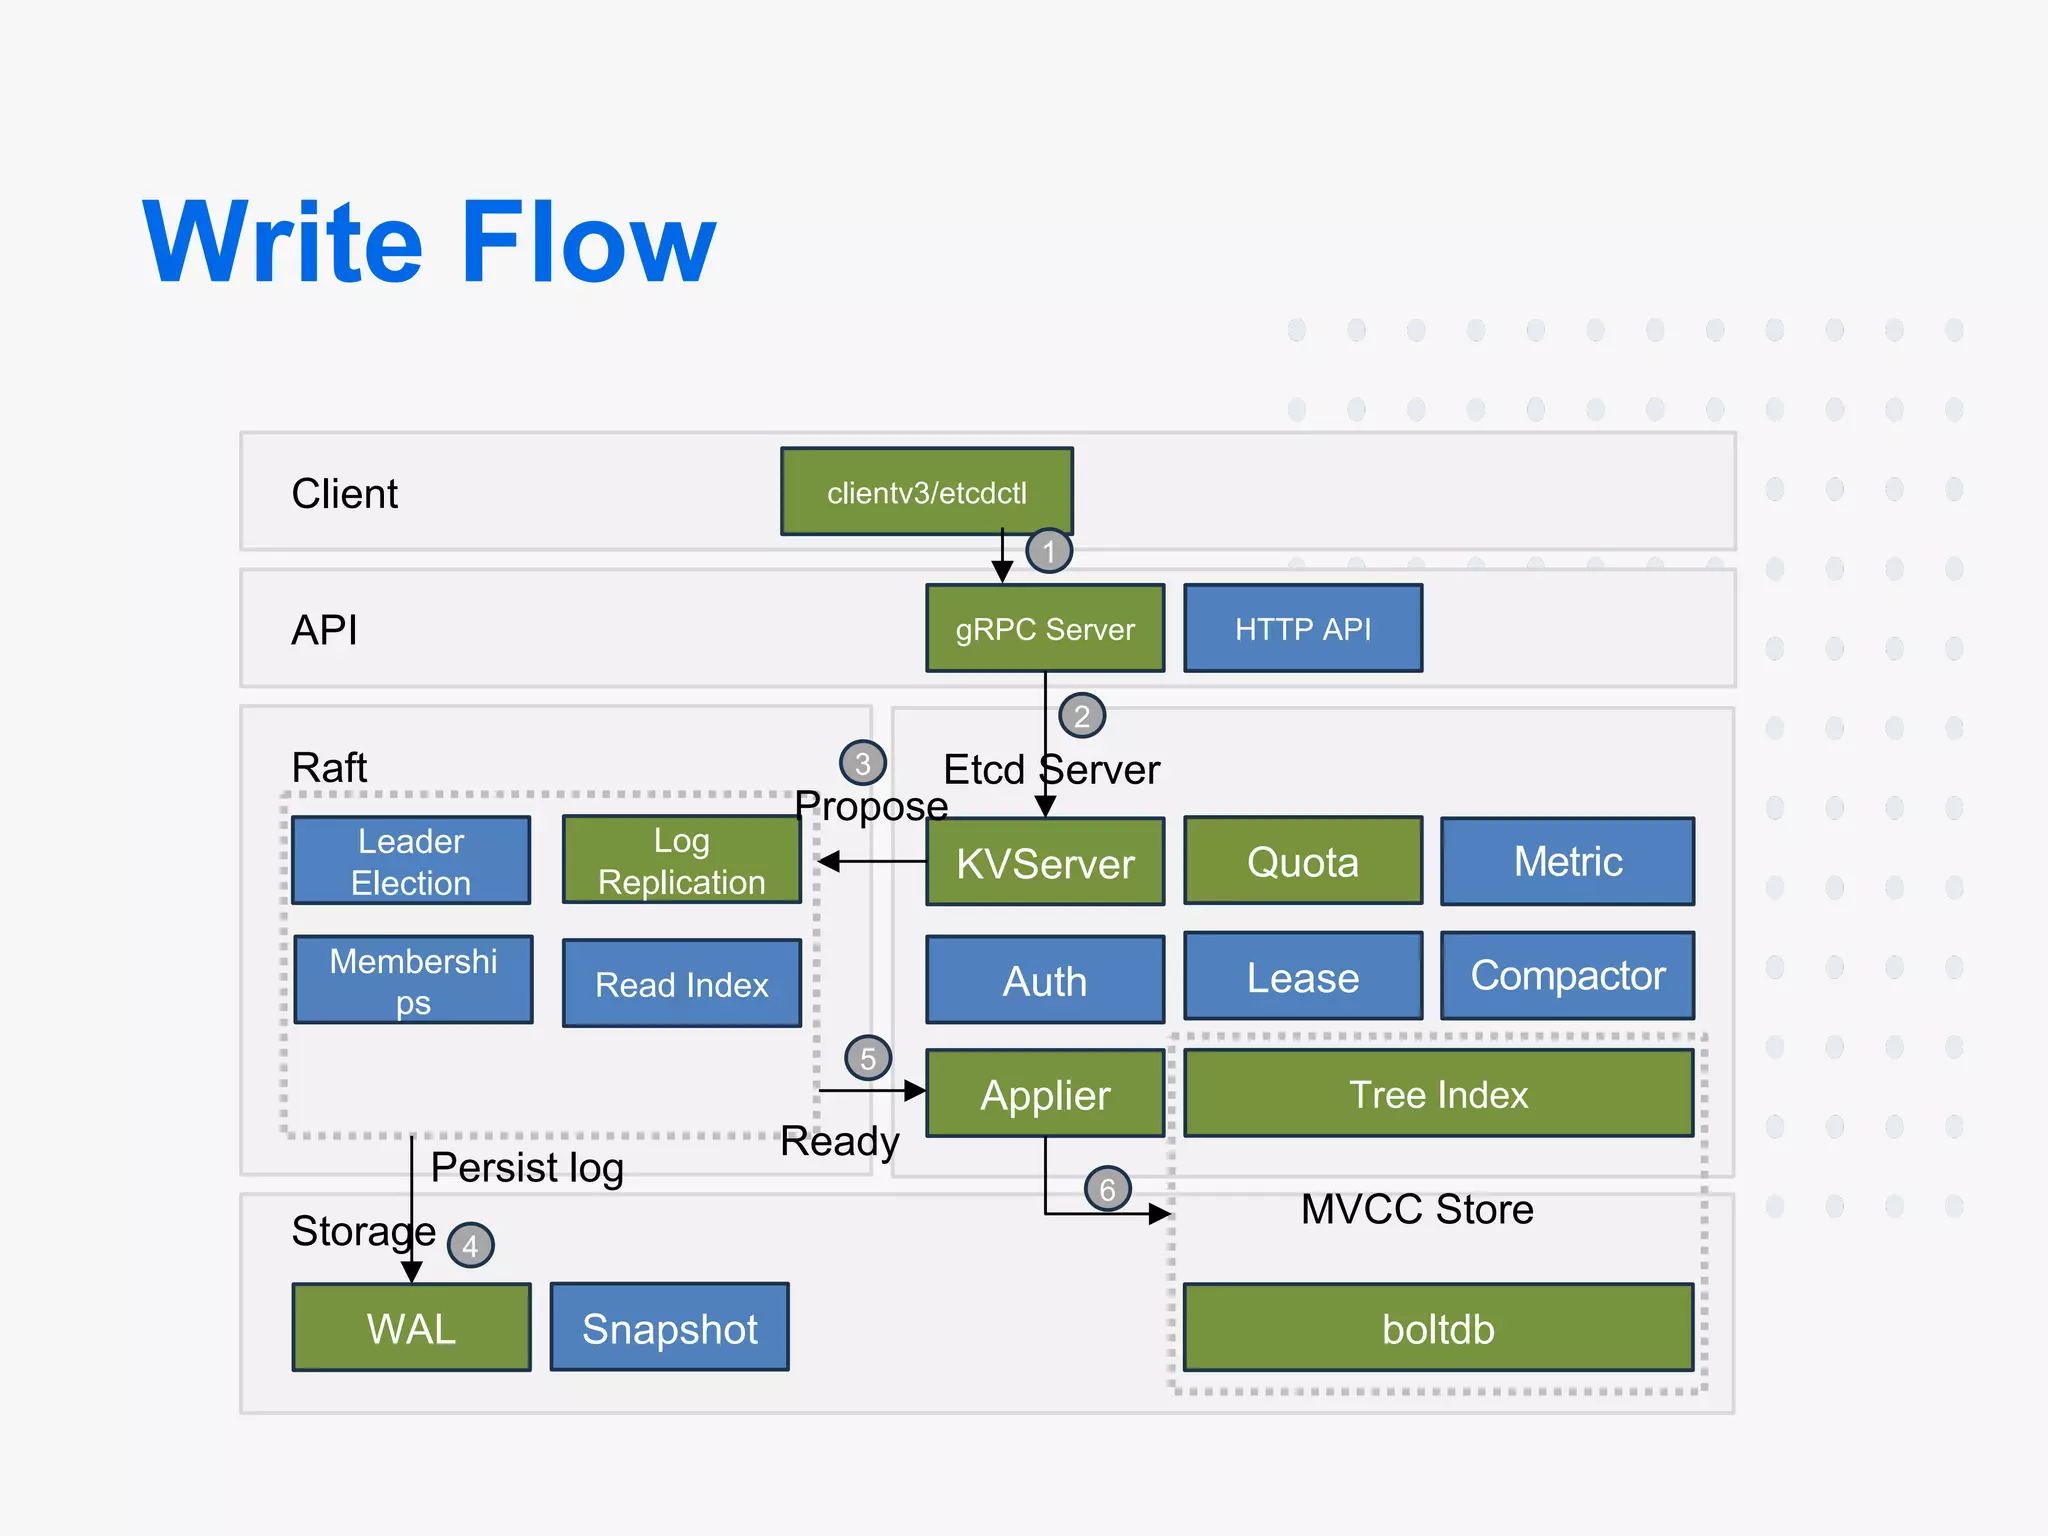
What is etcd?
etcd is a distributed key-value store that plays a critical role in the control plane of many cloud-native applications. The name “etcd” combines “etc” with “distributed,” highlighting its functionality in distributed systems. Two years into playing with Kubernetes and strange I have never heard of this.
Key Features
- Key-Value Storage: Stores data as key-value pairs.
- Distributed System: Ensures reliability and fault tolerance across multiple nodes.
- Control Plane: Manages and coordinates services in a distributed environment.
Core Concepts
etcd is built on the RAFT consensus algorithm, which enables leader election and ensures fault tolerance. Here’s a breakdown of some of its components:
- RAFT: The consensus algorithm that etcd uses.
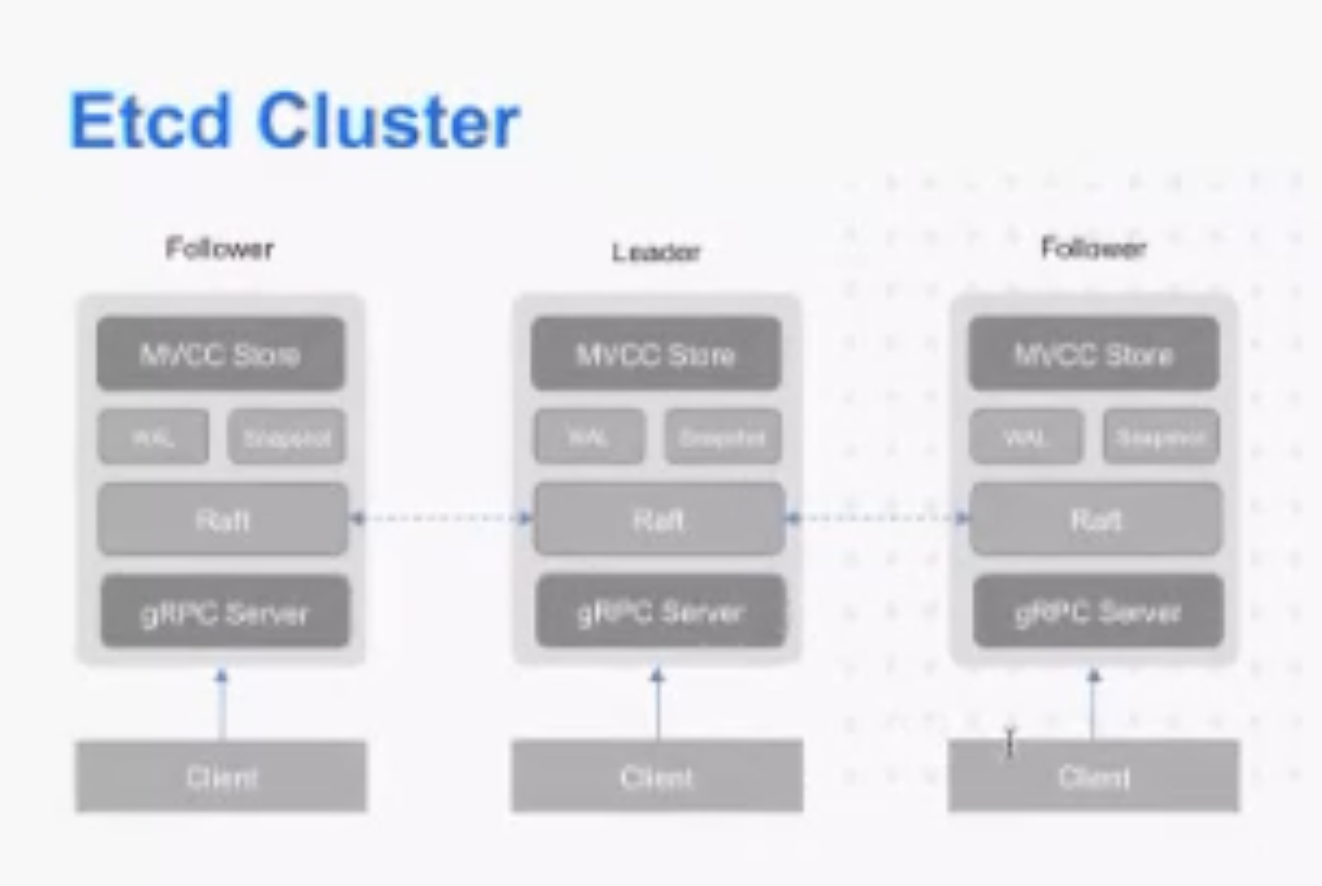
- Leader Election: A mechanism to select a leader node that manages data updates and replication.
- Fault Tolerance: The ability to maintain service availability even in the presence of failures.
Architecture
Each etcd server participates in a cluster and communicates with others using gRPC.
The underlying data store uses BoltDB, a golang key-value database that provides a simple way to persist data to disk.
How It Works
Now hopping onto the etcd source code.
Leader
You can see that etcd will always have a leader, with ticks to keep the system updated. 
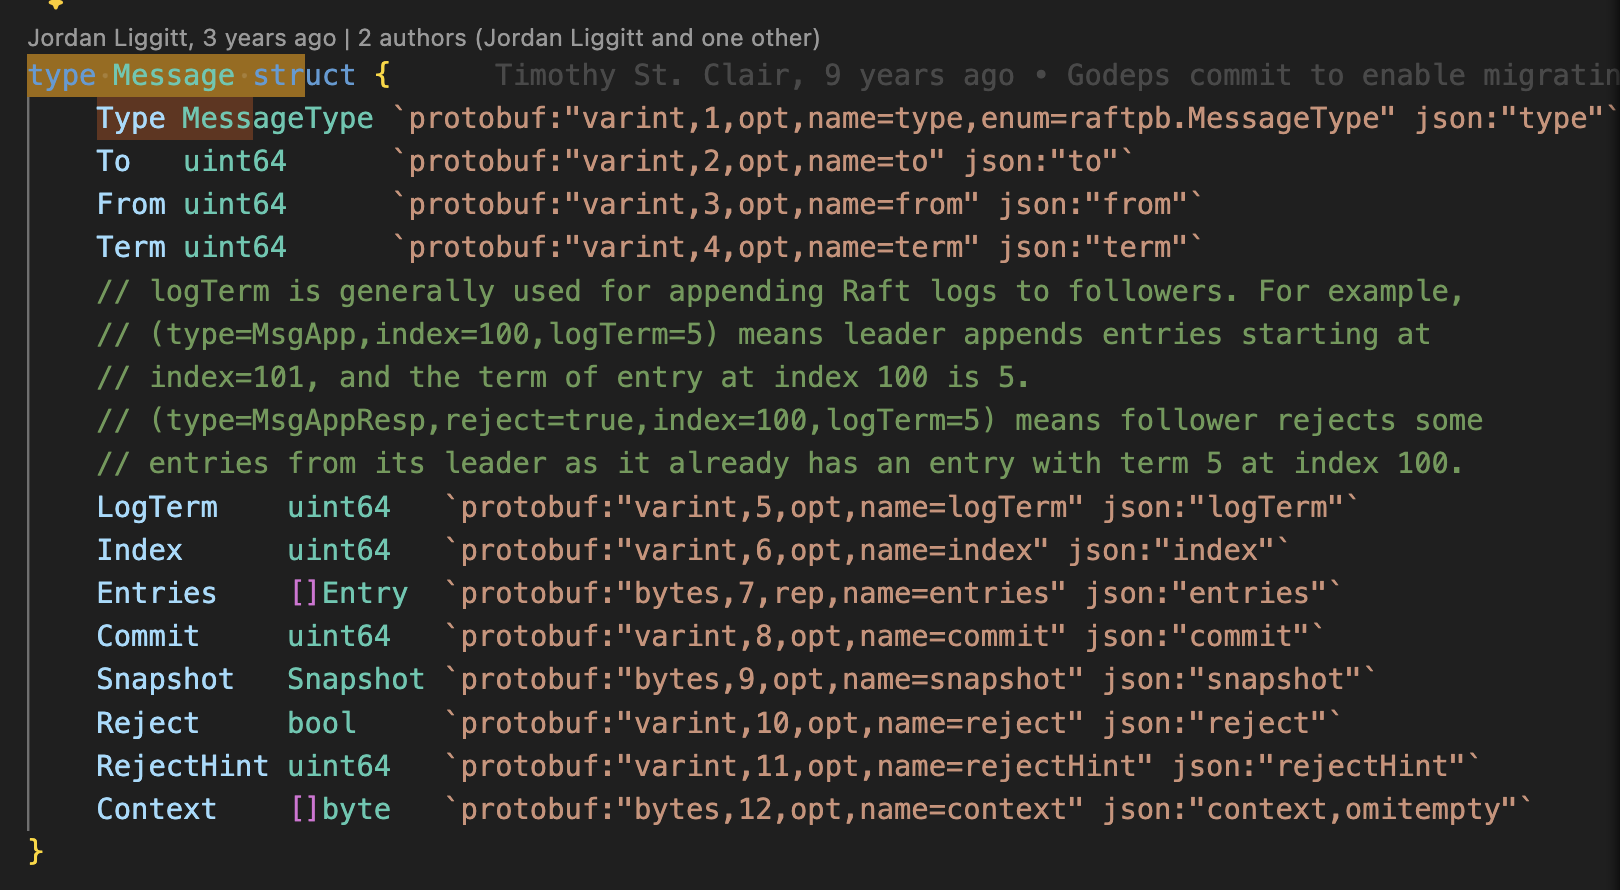
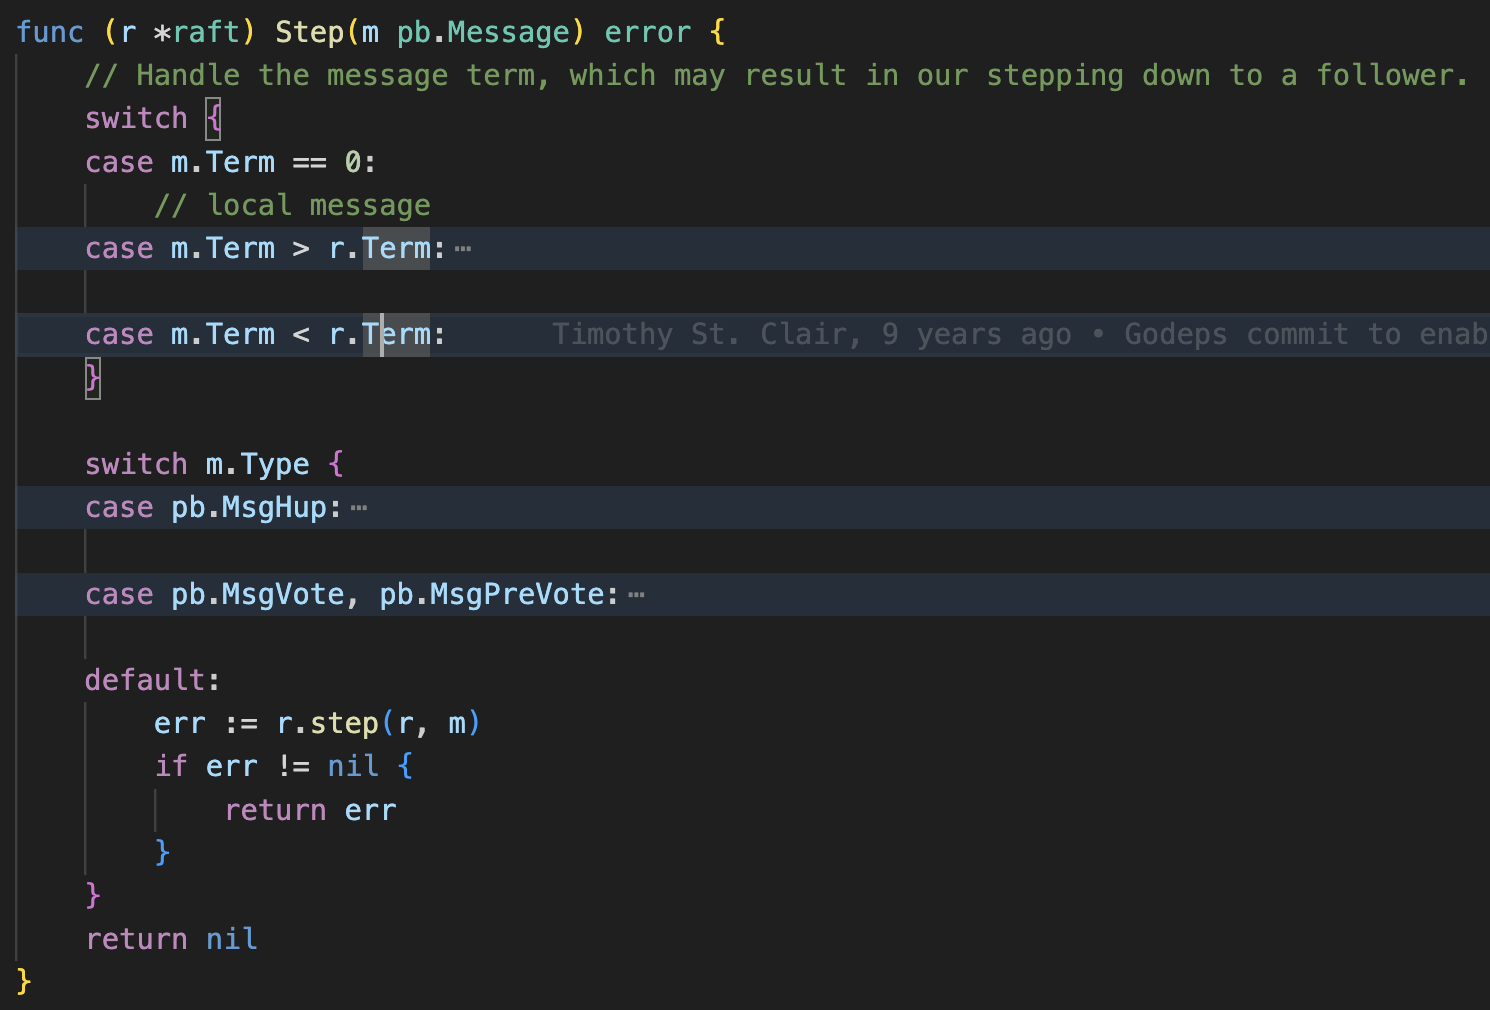
When an etcd node receives a message, it implements the step function within the RAFT struct to handle the message appropriately based on its role (leader, follower, candidate).
Node Input
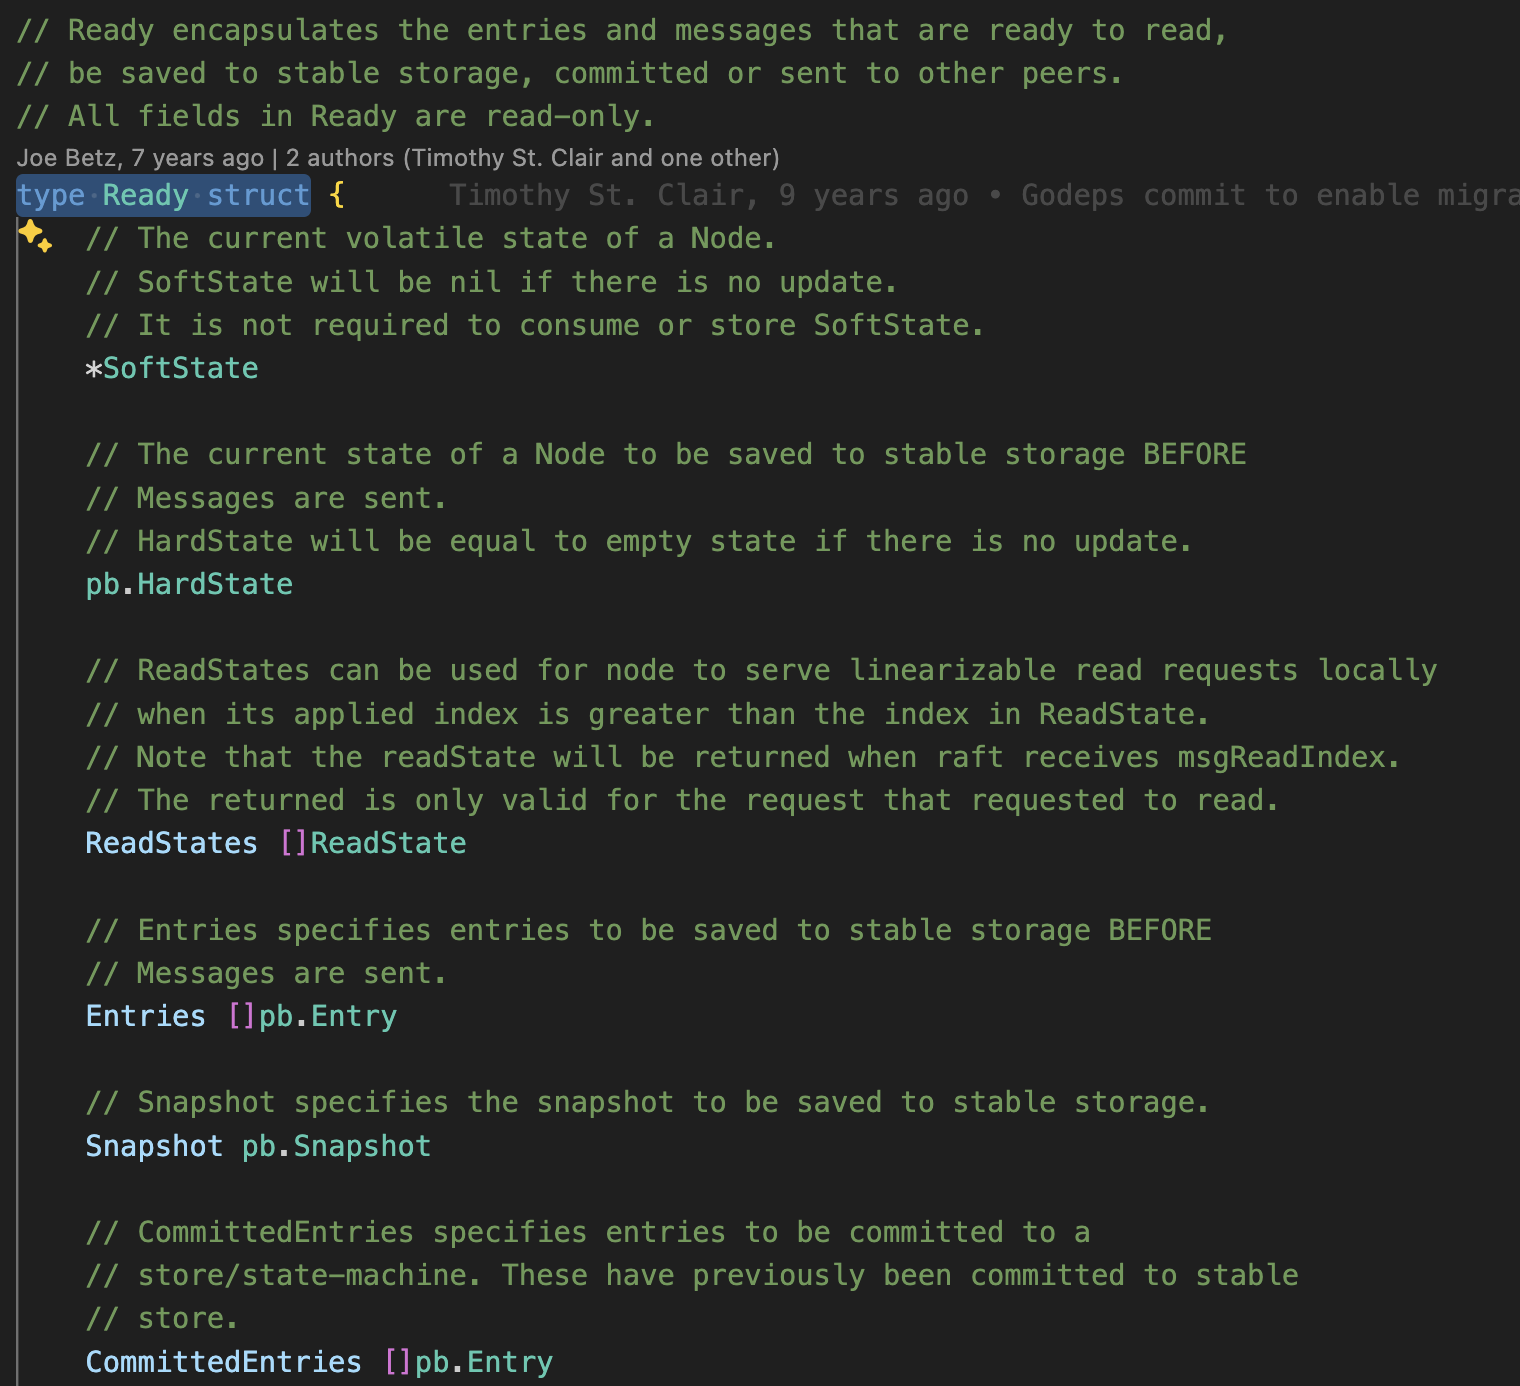
Node Output
RAFT Code Implementation
Each node’s state transitions occur within the RAFT implementation. During a step, the node performs actions based on whether it is a leader, follower, or candidate.
RAFT Logs
RAFT logs capture the changes that occur during the consensus process.
When a message is sent to the leader, it adds the message to its local message queue, and the communication between nodes occurs through a user-implemented transportation layer. Disk I/O also requires custom implementation for persistence.
The Server Bootstrap Process
At its core, etcd’s server initialization follows a clean, hierarchical pattern:
1
2
3
4
EtcdServer.Start()
  → start()
  → run() (as goroutine)
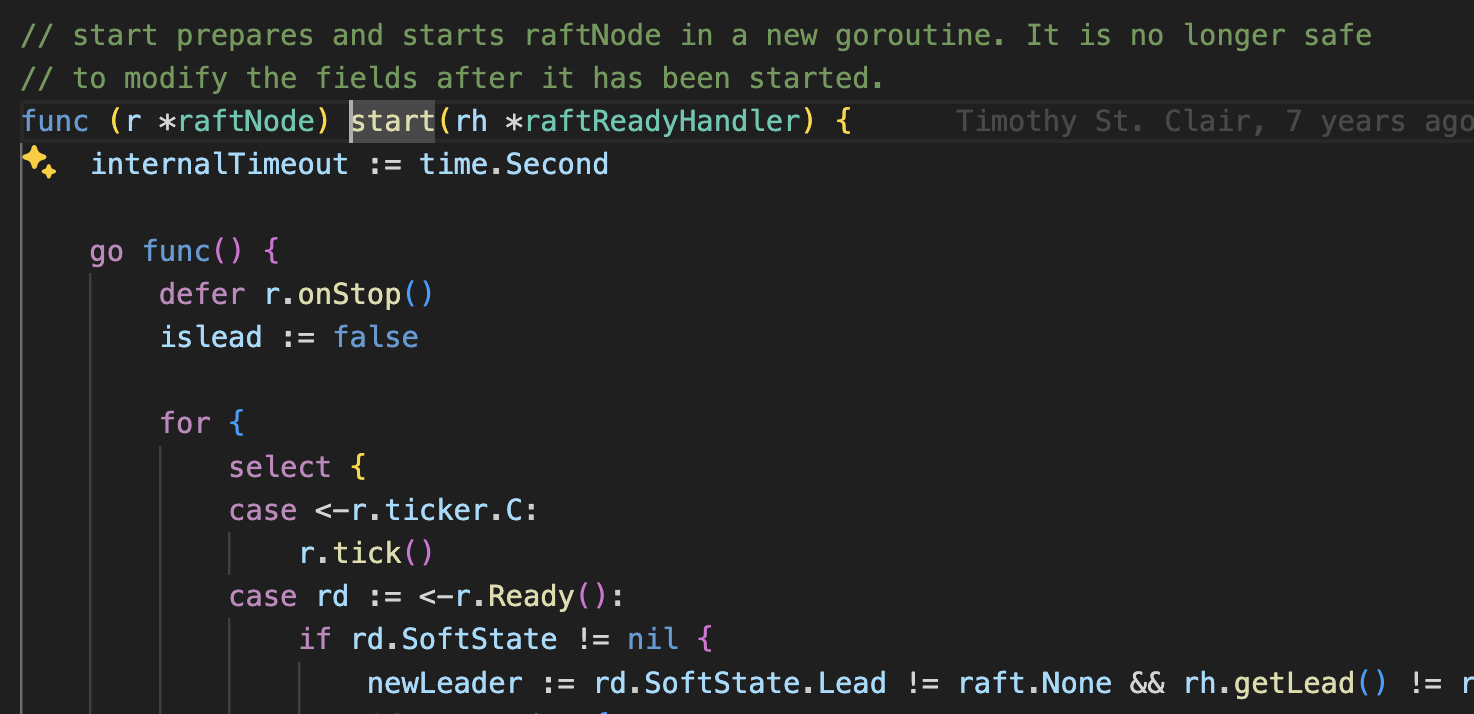
  → raft.start()
This might look simple, but there’s a lot happening under the hood. When the server starts, it kicks off an event handling loop that manages the distributed consensus protocol. This is critical for maintaining data consistency across the cluster.
We wait for a node to become ready: 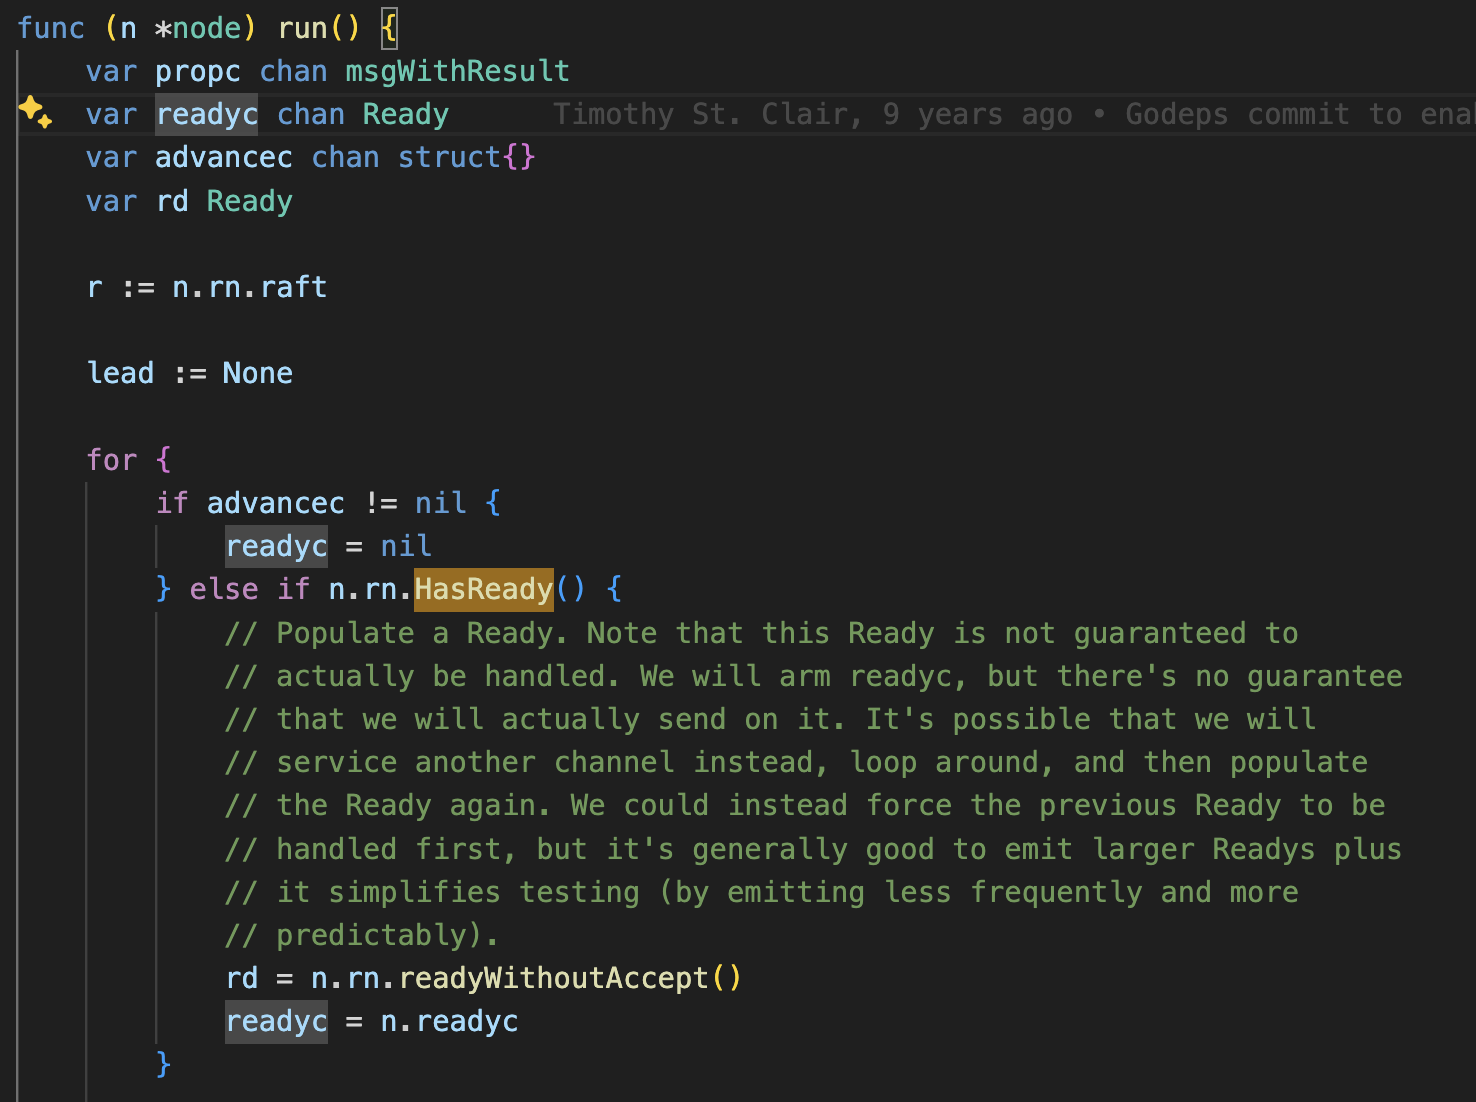
Message Flow and Ready States
One of the most interesting aspects of etcd is how it handles message states. During node initialization, a Ready struct is created. When a message proposal comes in (a msg propose), it gets added to a local queue. The system then checks if it’s ready for processing using a condition like this:
1
2
3
4
5
6
if len(r.msgs) > 0 || len(r.raftLog.unstableEntries()) > 0 {
    return true
}

rd = n.rn.readyWithoutAccept()
readyc = n.readyc
This simple check is crucial - it ensures that messages are processed only when the system is truly ready to handle them.
Channel Communication
In the etcd server, messages are sent using channels, which are defined for different message types. This allows for efficient message handling and processing.
1
2
3
4
5
6
7
8
9
10
// Write-only channel example
func sendData(ch chan<- int) {
    ch <- 42 // Sending data into the channel
}

// Read-only channel example
func receiveData(ch <-chan int) {
    data := <-ch // Receiving data from the channel
    fmt.Println(data)
}
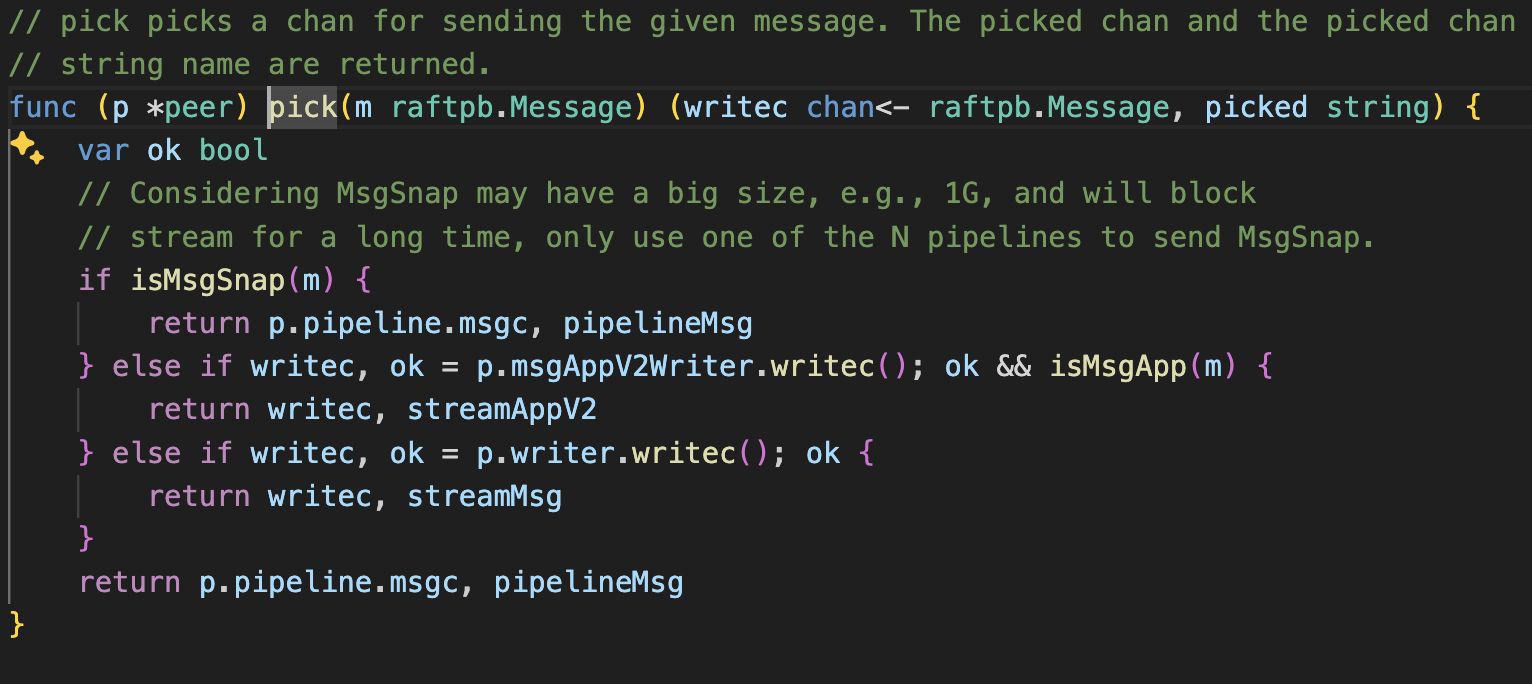
Regular messages go through writec, but there’s special handling for snapshots. Why? Because snapshots can be massive, and they need a pipeline approach to handle their size efficiently.
Logic
 A channel selection mechanism that handles different message types - uses pipelines for large snapshot messages (>1GB) and regular writec channels for normal messages
 The core sending logic that implements mutex locking for thread safety and uses the pick function to determine appropriate channel for message delivery
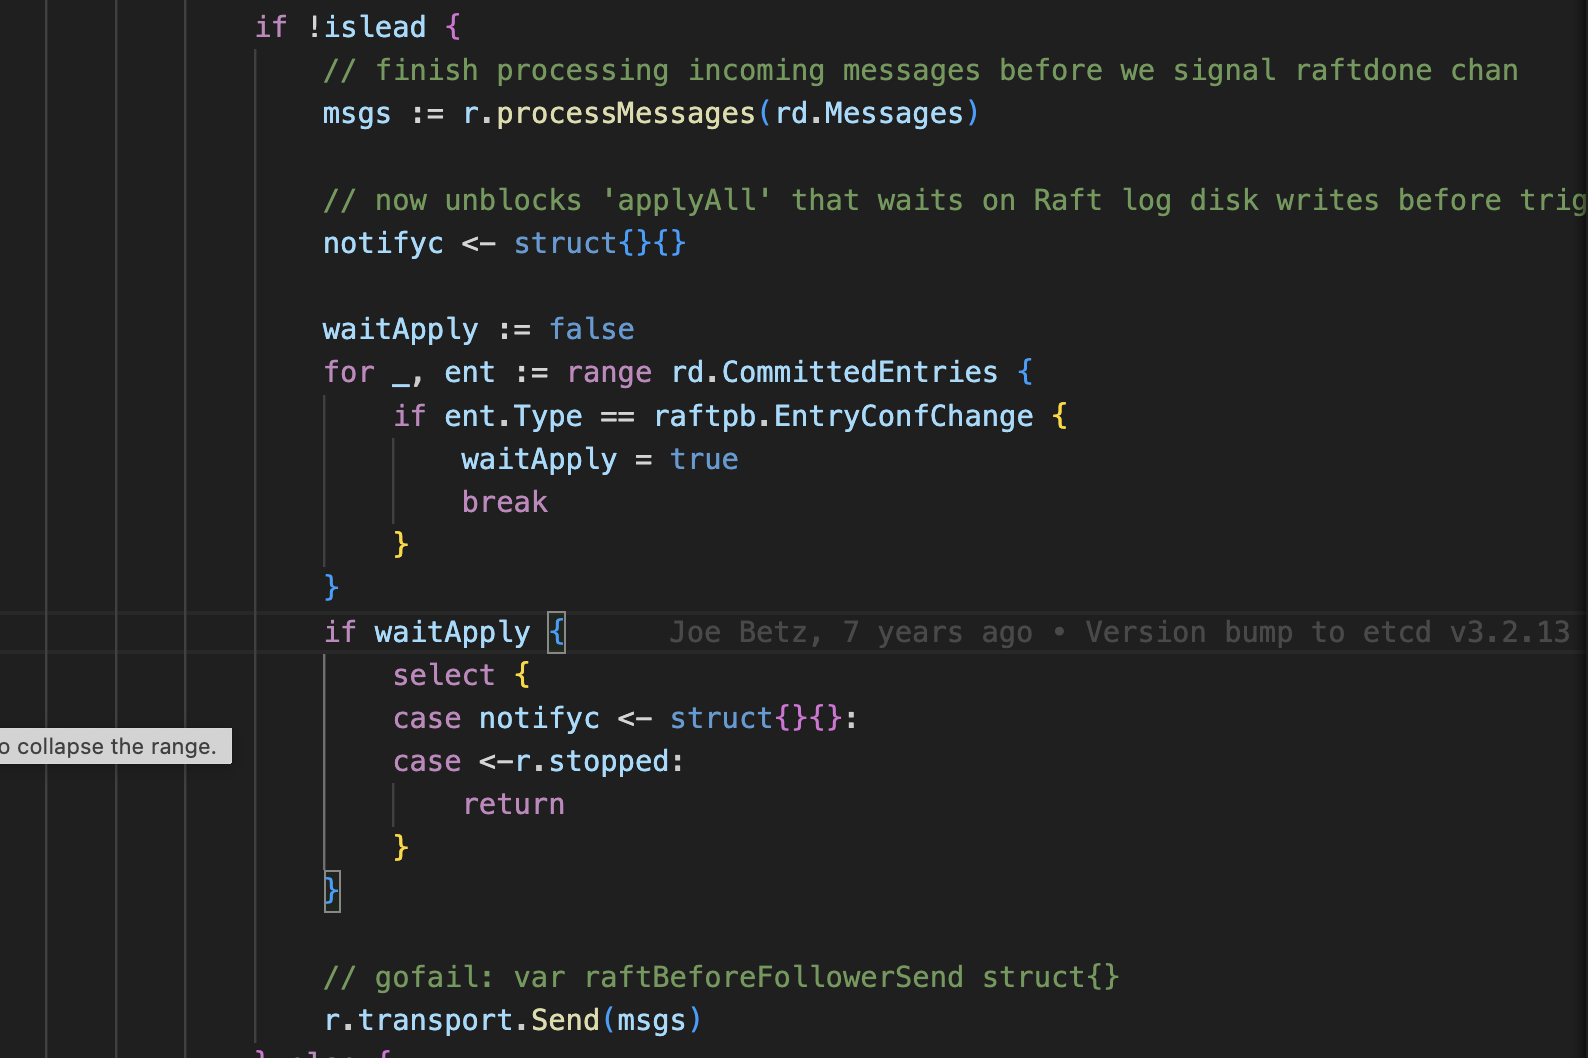 Follower node message handling logic that processes incoming messages and handles configuration changes through the raft protocol
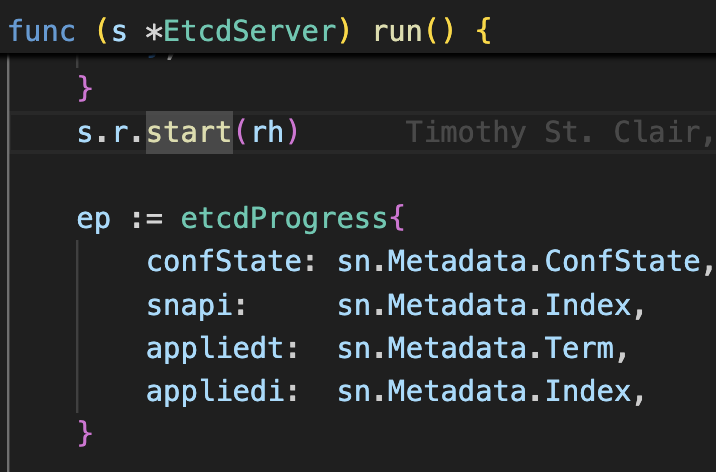
 Server initialization with metadata configuration including confState, snapshots, and term/index tracking
Alternatives to etcd
When creating a kubeapiserver, there are several options for backend storage. While etcd is the default choice due to its robust performance and features, it may be resource-intensive for certain applications. Consequently, exploring alternative storage solutions can be beneficial, especially in environments with constrained resources.
Third-Party Storage Solutions
Other third-party storage solutions can implement similar interfaces to etcd, allowing for seamless integration. Here are a few notable alternatives:
Kine: Kine is a lightweight database option that provides an etcd-compatible API. It is designed for use with K3s, a minimalistic Kubernetes distribution. Kine supports various backends, including SQLite, PostgreSQL, and MySQL.
PostgreSQL: Another promising alternative, PostgreSQL can be utilized to replace etcd, providing a relational database option for managing Kubernetes resources. The article Goodbye ETCD, Hello PostgreSQL provides insights into this transition.
KamaJi: The KamaJi project utilizes alternatives to etcd, demonstrating the viability of different backend storage solutions. More information can be found on their official site.
Martin Heinz’s Blog: This blog offers guidance on alternatives to etcd, highlighting various implementations and configurations. Check it out here.
Installation
To install Kine, you can follow these general steps, although the specific commands may vary based on your Kubernetes setup:
Install K3s: Since Kine is integrated with K3s, installing K3s will automatically set up Kine as the default datastore.
1
curl -sfL https://get.k3s.io | sh -
Configure Kine: If you’re using K3s, Kine is already configured. However, if you wish to use Kine with a standard Kubernetes setup, you can deploy it as a service using Helm or manifests, pointing to your preferred database backend.
Verify Installation: Once installed, you can verify Kine’s operation by checking the Kubernetes pods:
1
kubectl get pods -n kube-system
- Modify Configuration: If you’re working with a kind cluster for testing, you can view and modify the configuration by running:
1
kubectl edit cm -n kube-system kubeadm-config

